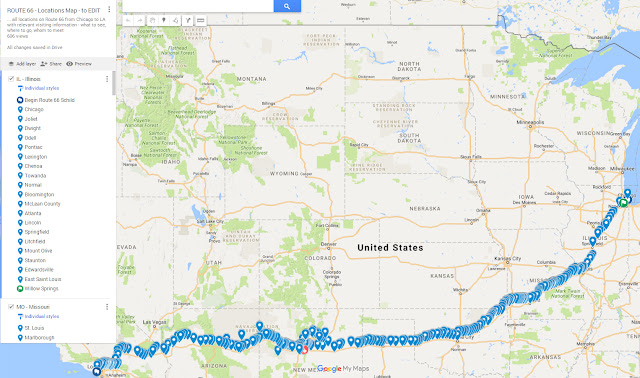
 |
| The link in your email will get you to this page. Before you click the edit button, please read the following information. |
Please do NOT change the name of the map or the description and when deleting only your own information. Please NEVER delete any posting from someone else.
Please do NOT add any additional layers - there will be only one layer for every State Route 66 passes through.
If you have any questions or if you are not sure about something, please leave a comment in the Route 66 Travelers Community in the category "Interactive MAP discussions".
 |
| Clicking the editing button will open a map you can edit, a map you can add your own information |
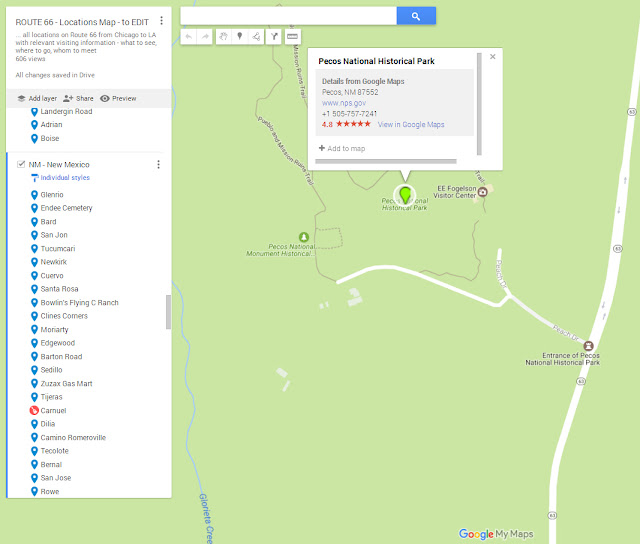
To add a new location, place or business to the map, please click on the name of the State to which you would like to add something. On the left hand side of the map a continuous blue bar or line is shown, as you can see on the example below - I want to add a location to the State of New Mexico.
 |
| Type in the name of the location or place you are looking for into the search field. |
 |
| After you added your personalized information, do not forget to save it. |
| Select color and style for your icon - that is going to be shown on the map. If your icon is not among those shown on the pop-up window, please click on More icons |
 |
| By clicking the camera icon, you may add pictures or videos as shown above. |
| The new location is added at the end of the list for the state, and on the map. |
If you still have any questions, please leave a message at this blog post or send me email to
rt66travelers@gmail.com ... I will do my best to help asap.
No comments:
Post a Comment